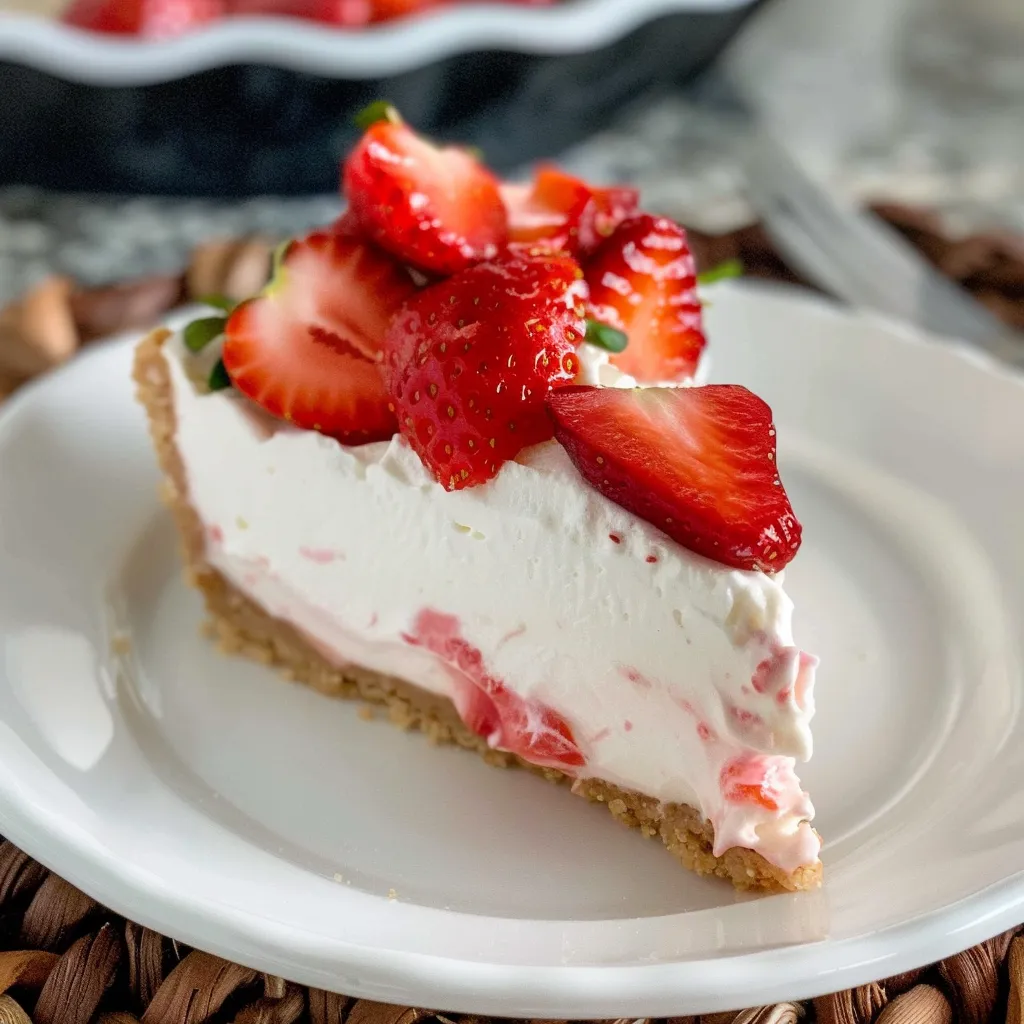
Hey there, fellow dessert lovers! Today, I’m super excited to share with you a recipe that’s about to become your new favorite: the Strawberry Cheesecake Dump Cake. This dessert is a game-changer for anyone looking for something sweet, satisfying, and incredibly easy to make. Whether you’re hosting a family gathering, celebrating a special occasion, or just need a quick treat to brighten up your day, this recipe has got you covered. Plus, it’s perfect for those who love easy pasta recipes but want something equally delicious and stress-free for dessert!
Why You’ll Love This Recipe
- It’s incredibly easy to prepare—just layer the ingredients and bake!
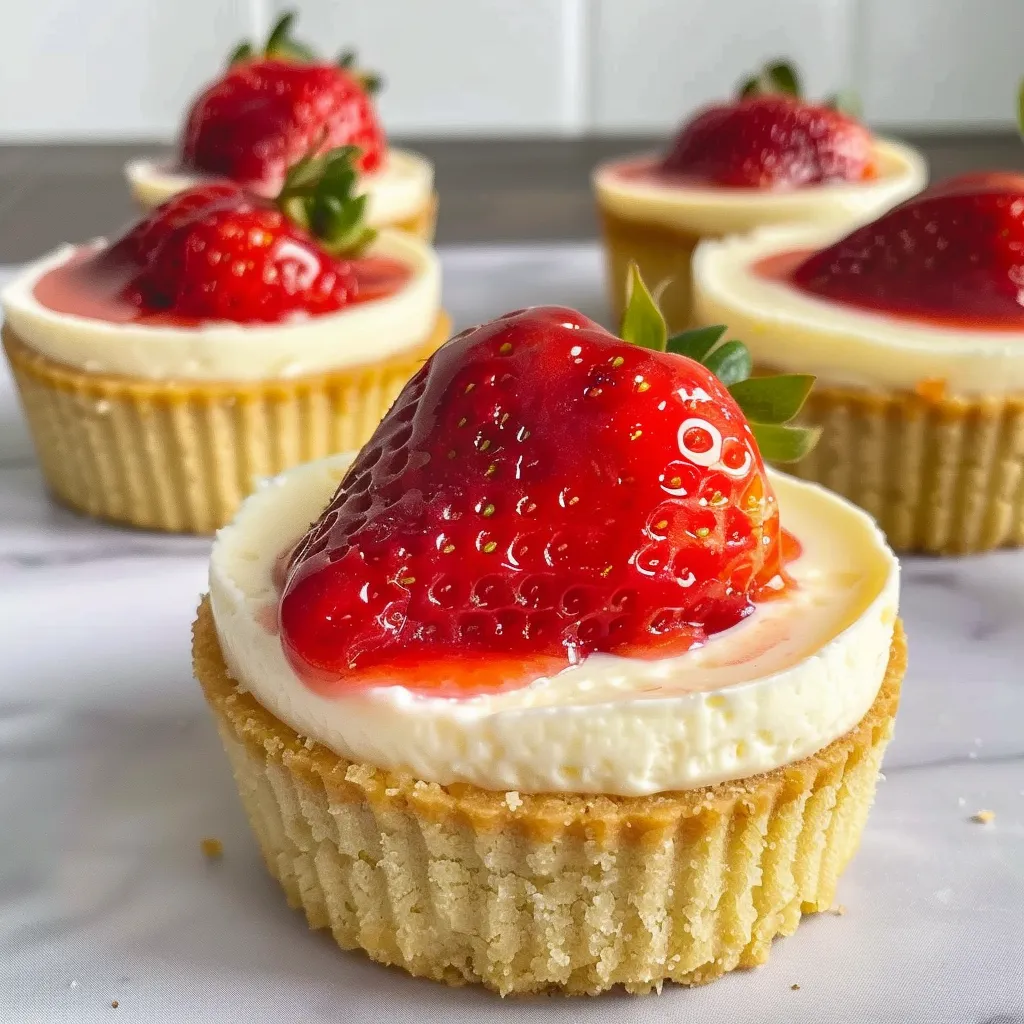
- Packed with the sweet and tangy flavors of strawberries and cream cheese.
- Perfect for any occasion, from quick family dinners to special celebrations.
- Requires minimal effort but delivers a show-stopping result.
Ingredients
Here’s what you’ll need to make this delicious Strawberry Cheesecake Dump Cake:
- 2 cups fresh or frozen strawberries
- 1 can (21 oz) strawberry pie filling
- 1 package (8 oz) cream cheese, softened
- 1 cup granulated sugar
- 1 tsp vanilla extract
- 1 box of yellow cake mix
- 1 cup unsalted butter, melted
- Whipped cream for topping (optional)
Full ingredient list with measurements is provided in the printable recipe card below.
How to Make the Recipe
Let’s dive into the step-by-step process. Don’t worry—it’s as simple as it gets!
Step 1: Preheat Your Oven
Start by preheating your oven to 350°F (175°C). While the oven is warming up, you can start preparing the other components of the recipe.
Step 2: Prepare the Pan
Grease a 9×13-inch baking dish with non-stick spray. This ensures that the cake will come out smoothly once it’s baked and cooled.
Step 3: Layer the Strawberries
Spread the fresh or frozen strawberries evenly at the bottom of the pan. If using frozen strawberries, make sure to thaw them first and pat dry any excess moisture.
Step 4: Make the Cheesecake Layer
In a bowl, combine the softened cream cheese, sugar, and vanilla extract. Mix until smooth and creamy. This layer adds a delightful tanginess to the dessert.
Step 5: Add Cake Mix
Next, sprinkle the dry yellow cake mix evenly over the entire mixture. This is where the magic happens—just like in dump cake recipes, the cake mix creates a crumbly, golden-brown topping.
Step 6: Pour the Butter
Drizzle the melted butter over the cake mix. This step ensures the topping is rich and moist, with a perfect balance of flavors.
Step 7: Bake
Place your pan in the preheated oven and bake for 45-50 minutes, or until the top is golden brown and the filling is bubbly. Keep an eye on it to ensure the top doesn’t overcook.
Step 8: Cool and Serve
Once out of the oven, let your cake cool slightly before serving. This allows the flavors to meld together and the filling to set. Top with whipped cream if desired for an extra-special touch!
Pro Tips for Making the Recipe
Here are a few tips to make your Strawberry Cheesecake Dump Cake even better:
- Use fresh strawberries for the best flavor, but frozen works just as well if fresh aren’t in season.
- Don’t overmix the cream cheese layer—it should be smooth but still retain some texture.
- For a golden-brown crust, make sure the melted butter is evenly distributed over the cake mix.
How to Serve
This dessert is versatile and can be served in a variety of ways:
- Serve warm with a scoop of vanilla ice cream for a comforting treat.
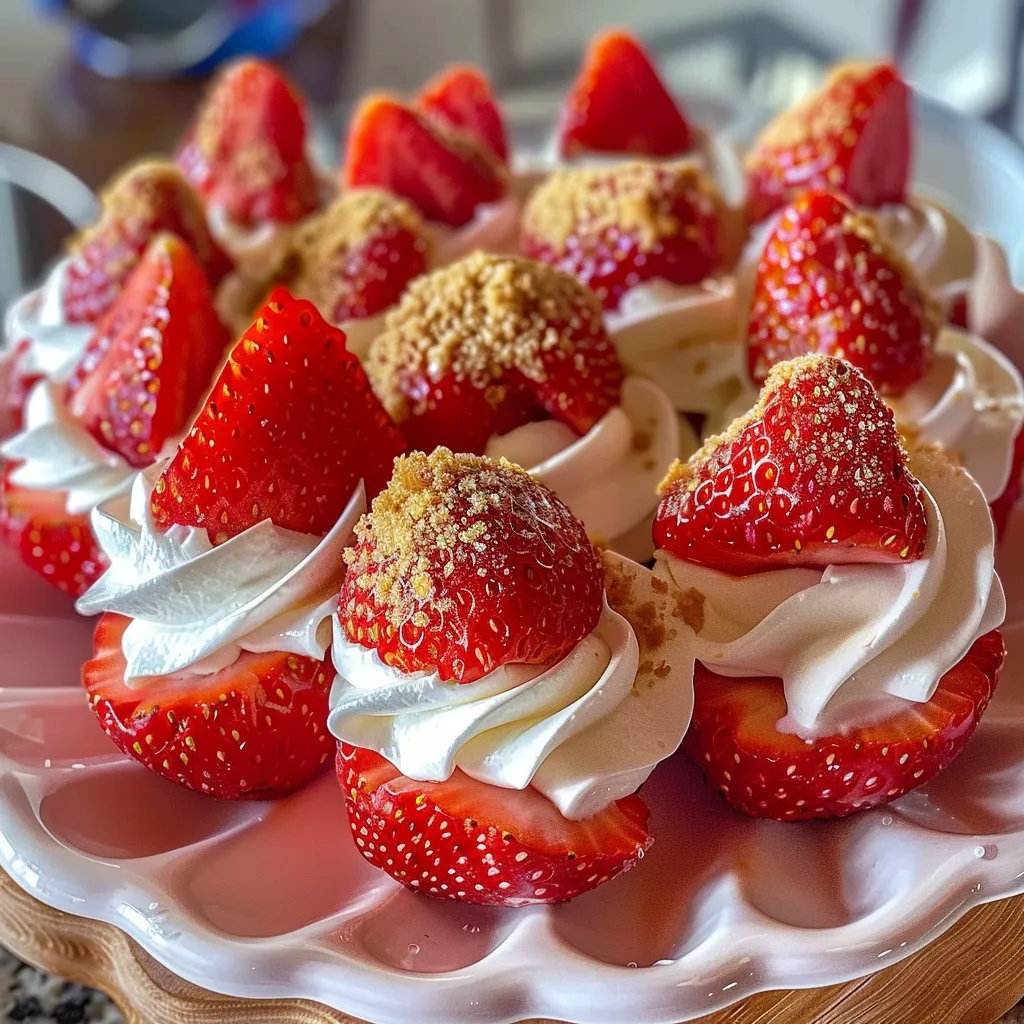
- Top with fresh strawberries for a pop of color and freshness.
- Drizzle with caramel or chocolate sauce for an extra-decadent touch.
Make Ahead and Storage
If you’re planning ahead, you can prepare the layers and store them separately in the fridge for up to 24 hours before baking. Once baked, the cake can be stored at room temperature for up to 2 days or refrigerated for up to 5 days. Freeze for longer storage—just thaw when ready to serve.
And there you have it—a delicious, easy-to-make Strawberry Cheesecake Dump Cake that’s perfect for any occasion. Whether you’re a fan of dump cake recipes or just looking for a new dessert to try, this one is sure to become a family favorite. Don’t forget to check out some of our other delicious cheesecake recipes, like the How to Make the Best Blueberry Crumble Cheesecake and the How to Make the Best Classic Cheesecake Baked to Perfection. Happy baking!
Strawberry Cheesecake Dump Cake Recipe
Ingredients
- 2 cups fresh or frozen strawberries
- 1 can strawberry pie filling
- 1 package cream cheese, softened
- 1 cup granulated sugar
- 1 tsp vanilla extract
- 1 box yellow cake mix
- 1 cup unsalted butter, melted
- Whipped cream for topping (optional) optional
Instructions
- Preheat your oven to 350°F (175°C).
- Grease a 9×13-inch baking dish with non-stick spray.
- Spread the strawberries evenly at the bottom of the pan.
- Mix cream cheese, sugar, and vanilla extract in a bowl.
- Sprinkle cake mix over the mixture, then drizzle with melted butter.
- Bake for 45 minutes, then cool slightly before serving.